Download Star Charts
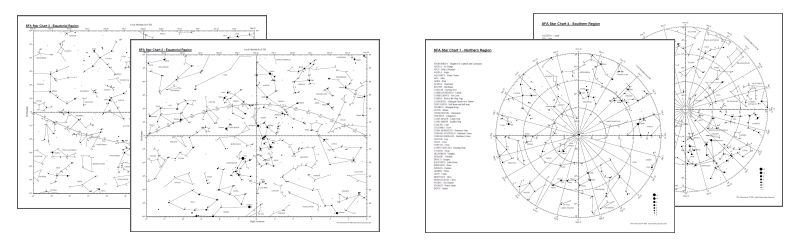
These star charts are designed to work anywhere on Earth. This new version contains Messier objects and improved quality.
Instructions are included on the last two pages of the PDF file linked above.
The constellations lines are based in part on those in a book called The Stars
by H. A. Rey.
These constellation patterns were adopted by
Google Sky.
The
classic version
of these star charts are also available without the Messier Catalog objects.
Check out the Frequently Asked Questions for more information on how the star charts were made. A variety of
star chart versions are also available. Check out this alternate download link if needed.